Showing posts with label applique. Show all posts

Monday, April 4, 2016

Baby Boy Banner

I was way behind in baby gifts. I mean way behind. 
My friend Jess over at Gracious Threads had a baby boy almost a year ago now.
I finally thought of a suitable gift. 
Sad, I know. 
But, what do you make for someone who can sew better than you?! 


When this idea popped in my head, I even asked her what color scheme she likes. 
And, then I chose two sets of fabric from my stash and asked which one she liked better. 
Yeah, I know--it's pretty sad when you have to get their input on a gift. 


I am very pleased with how it turned out. 
And, if it's hanging on the wall, there's less chance she'll inspect the seams. Ha! 
(right Jess?!) ;) 


Wednesday, July 15, 2015

S is for Sewing Blog Tour

Having 3 boys, I'm always on the look-out for good boy patterns.
When Sewing With Boys was looking for blog tour participants, I eagerly signed up.
 
There are a good number of extras included, in addition to the four main patterns.
I chose to sew up the Quad Tee and to use the Knight Knee Patch tutorial!
 
My boys are always wearing through their jeans. As in they have maybe one pair of jeans that do not have a hole. Sad, I know...
 
 
But, that has changed--they each have another pair of jeans that does not have a hole.
Instead, they are now some of their favourite because of the fun patches.
The tutorial includes the pieces that you can use, and gives ideas for how to arrange them.
The worst part was getting them sewn onto the pants by machine--it is very hard to maneuver a pant leg on the sewing machine.
I did have to enlarge the pieces by 150% because of the huge holes my sons wear into their jeans.
Some of their jeans it was still too small--but I think those are beyond repair anyway.
 
 
Next, I sewed up the Quad Tee for my youngest son.
He is in need of shirts that don't fall off his shoulders and that are slim enough.
I sewed up the size xxs and it fit him very well.
The front went together opposite of the pattern because I had flipped the pattern pieces upside down before cutting to get more mileage out of the fabric. 

 
He's pretty thrilled with it and the small pocket is a huge hit.
He started looking for a second one for his other hand.
 
Taking pictures was interesting...if you look closely at the bottom picture, you may see three photo bombers. You'll have to look closely--one is almost impossible to spot.

 
You can find the S is for Sewing E-book on Etsy.
It is 15% off during the blog tour, so grab it early!
 
Make sure to hop over and have a look at all the other blog stops:
 

July 13th
July 14th
July 15th
July 16th
July 17th

Wednesday, April 8, 2015

On-the-Go Chalkboard Notebooks

I've had an idea to make the kids a coloring/drawing folder for long trips.
When I saw the chalkboard fabric over at Canadian National Fabric, I knew I had to give it a try!
 
 
As I started to browse their awesome selection of wovens, the Wild Horses collection from Michael Miller popped out at me.
The colors would go beautifully with the black of the chalkboard fabric.
And, to add to my certainty, it came in a 'boy' color and a 'girl' color.

 
Matching solids were soon found--Art Gallery's Pure Elements in Pansy and Fresh Water.
For the record, I had chosen Verve Violet as a match, but she was kind enough to send me a better match along with it!

 
So I started making them, assembly-line style.

 
A snap pocket for the chalk.
(Yes, I know...that pocket flap sticks out a little more than intended...the drawbacks of doing assembly line style on a pattern/tutorial-in-progress!)
A pocket for the cloth.

 
And we were all set to go.

 
They definitely met with approval and had to be thoroughly tested out.

 
The chalkboard fabric is not listed at Canadian National Fabric anymore but it is still available by request if you contact her!


Tuesday, September 23, 2014

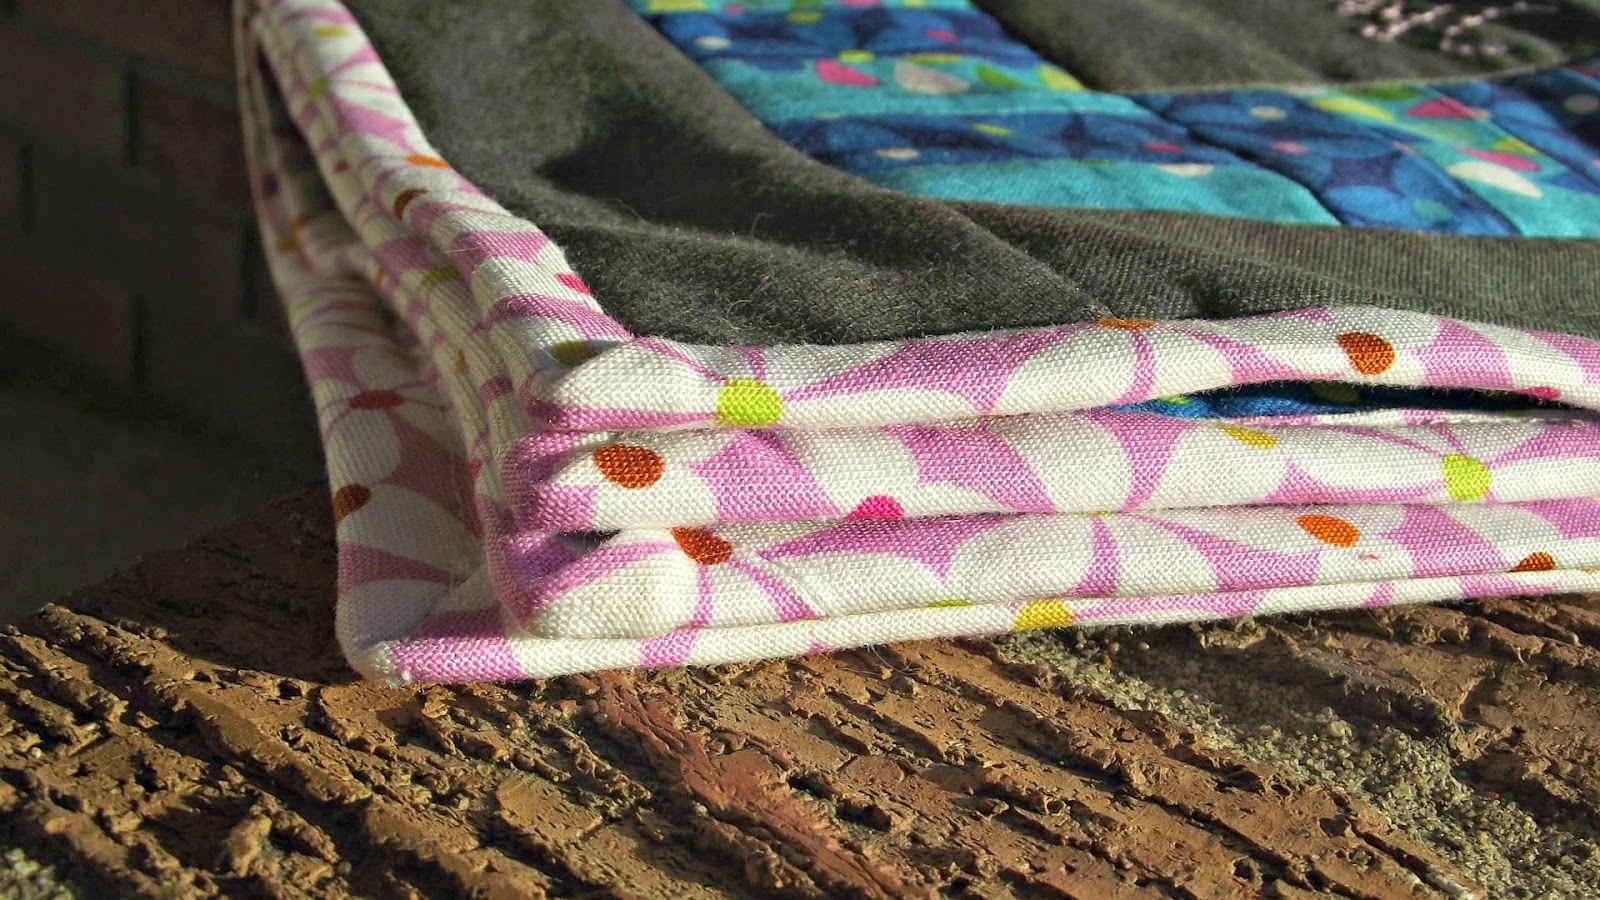
Flower Applique Quilt with Stay Home Fabrics

I was quite excited when Lindsay from Stay Home Fabrics offered to send me a couple of Fat Quarters to play with!
 
She sent me these FQ's:
Pinwheel Midnight
Raindrops Turquoise (out of stock at the moment--will update link when in stock again!)

I put together a free tutorial for a wall hanging!

http://shrsl.com/?~6n2c
 
 The solid grey came from my stash--it's a plain old quilting cotton--perfect for a canvas to add some lovely color!

 
I had so much fun fussy cutting the large flowers out of the Hide and Seek Sky FQ.

 
And, then the text. I hesitated the longest with this.
I wanted it perfect and wasn't sure if I wanted to incorporate the text into the quilting or what I wanted to do. But, I knew it had to stand out--it had to be visible.


So I embroidered them on by hand.
After chalking the words on to make sure they'd fit where I wanted them, though I didn't end up using the chalk out line very much.
It ended up being pretty free hand.
(I can only wish I had better penmanship!)

 
And, for the quilting, I quilted about a 1/4" from the flowers and then stitched-in-the-ditch for the rest.

 
I added some triangles in the back to hang it.

 
For the backing, I cut the left overs from the FQs into strips and pieced the back.

 
And, the binding--I love how the small flowers look as binding.
Plus it's a brighter color to add that girly flair I wanted for my girls' room!

 
A bright ribbon I hijacked from one of my daughter's gift bags she had stored away is a perfect match.
 
You can get the free tutorial here!
 
And, hop on over to Stay Home Fabrics--Lindsay has $10 flat rate shipping in Canada or free shipping on $100 or over, and the entire month of September you'll get a free, surprise 10 piece 5" charm pack with any order!
Plus, use the promo code "justbeautiful" to get 15% off the Dashwood Studios collection until Wednesday at midnight!
 
Follow Stay Home Fabrics on Facebook for future promo codes and sales!
 

Thursday, May 29, 2014

Corsair Applique Tutorial

(*This post contains affiliate links through which I get a small commission to help me keep the tutorials and such coming!*)
 
Today I'm over at Gracious Threads, joining in on the series Embellish is for Boys!
Make sure to hop over there to enter a great giveaway--she'll be giving away a copy of my Castle Applique Pattern this week along with some other amazing prizes!
 
 
But, here we'll go over how to applique!
 
Supplies:
-Fusible Web
-Scrap of fabric
-Pencil
-Sewing supplies
-Stabilizer (optional)

 
First, we'll print out the pattern and trace it onto the Fusible Web.
It will make a mirror image.
 
 
Cut out the traced Corsair.

 
Iron it to the fabric you'd like to use for the applique.

 
Cut that out.

 
Peel off the paper backing and iron onto project in desired position.

 
If you are using a thin or stretchy fabric, use some stabilizer to keep the fabric nice and straight!
Because of the thin detailing, and because I don't mind if the edges fray a little, I stitched around the edges using a straight stitch, about 1/8" away from the edge.

 
If you'd prefer to have no fraying and are ready to be very meticulous in your sewing, you can use a very narrow and close zig-zag stitch and stitch around the edges with that:
 
 
Here is the finished applique after a straight stitch, stitching about 1/8" away from the edge.

 
And, the completed shorts:
 
 
A quick and fun way to embellish for boys, and if your boy is like mine, he'll love it!
 
To visit my Craftsy shop and see some more fun patterns, click here.

Thursday, March 13, 2014

Rascal Raglan and Some Fabric

My boys are growing.
And wearing through their clothes rather quickly.
Most of their shirts are either stained, too small, or have holes in them.
I think they have one or two shirts each that are decent enough to wear out.
 
 
This is another upcycle--two $3 shirts from Walmart.
I could barely fit the raglan sleeves on the original sleeves but managed to squeeze them out.
The pattern is from Ottobre 4/2013--#9 'Rascal.'

 
Both are size 110 in width but I added a good bit of length to the red shirt--I'm not sure even how much, but it was a couple of inches for sure.
I would shorten the neck binding next time, and maybe do it as the instructions said...I just folded it in half, sewed it on, and topstitched--not so much a binding but a neck band.
The castle applique is a quilting cotton from Fat Quarter Shop--Madrona Road's 'Haystack' in charcoal. Perfect for castle walls!
The pattern I used for the applique is my own, newly released pattern--Castle Applique Pattern.

 
The boys love their new shirts.
As do I.
 
 
I also bought some more fabric! I had won a $50 gift card to Fabric.com and picked out these lovelies the day I got it--there was a bit of a sale on knits.
My stock of kid prints was rather depleted non-existent, and with a baby coming in June, Lord willing, I thought it'd be wise to stock up. So, there is half yard each of some Ooga Booga--a jersey and an interlock and then some from Heather Ross--both jerseys.
The next two are full yards and then 2 yards of the bottom.
It is such a pretty fabric, I'll probably make myself a dress or so out of that! 


(If you want to shop at Fabric.com, I'd love if you clicked on the little link in the side bar! It's an affiliate link, and I get a little commission. Thanks!!!)

Castle Applique Pattern

Eeek!!
I'm super excited to announce my first 'pattern'!
It's an applique pattern, and it is now available on Craftsy, here!
 
 
I am so super grateful to the ladies that helped with testing the pattern and who gave such great advice.
I also have a much greater respect for all the pattern designers out there--it took a lot of work making this, I can't imagine a full pattern!


My boys love it too!
They were pretty thrilled with their castles that they requested.
 
Some tester pics:
 
Stephanie from http://swoodsonsays.com/
 
Jess from http://graciousthreads.blogspot.ca/

Jessica from http://www.makemecrafty.blogspot.ca/
Thanks so much!
 
So, hop over to Craftsy and pick up the pattern!