Showing posts with label tutorial. Show all posts

Thursday, February 19, 2015

Lace Headband Tutorial

I recently made a headband for my daughter, and I thought it'd be fun to show you how I did it!
This fit my 8.5 month old daughter's 17" head.
(Total length of headband is about 16.5".)
You may have to change the lengths to adjust to your daughter's head size.
 
 
Supplies:
-Fabric piece: 11" x 2.5"
-Lace Trim: 10.5" long, or other embellishments
-1/4" or 3/8" elastic: 6"
 
Instructions:
1. Take the piece of fabric and first fold and press the long sides to the wrong side by 1/4".
Then, fold and press the short sides by 1/4".
 
 
2. Remove pins from short folded ends, and fold the whole piece in half, wrong sides together.

 
3. Topstitch the long open end, being sure to keep the short ends open.

 
4. Topstitch the other side as well, still keeping the short ends open.

 
5. Insert one side of the elastic by about 1/4" into one short side.

 
6. Topstitch in place.

 
7. Repeat steps 5 and 6 with opposite side.
You should now have this:

 
8. Pin your lace to the right side of the headband.
Stitch in place.
Or, add your choice of embellishments.

 
9. You're done!


Tuesday, September 23, 2014

Flower Applique Quilt with Stay Home Fabrics

I was quite excited when Lindsay from Stay Home Fabrics offered to send me a couple of Fat Quarters to play with!
 
She sent me these FQ's:
Pinwheel Midnight
Raindrops Turquoise (out of stock at the moment--will update link when in stock again!)

I put together a free tutorial for a wall hanging!

http://shrsl.com/?~6n2c
 
 The solid grey came from my stash--it's a plain old quilting cotton--perfect for a canvas to add some lovely color!

 
I had so much fun fussy cutting the large flowers out of the Hide and Seek Sky FQ.

 
And, then the text. I hesitated the longest with this.
I wanted it perfect and wasn't sure if I wanted to incorporate the text into the quilting or what I wanted to do. But, I knew it had to stand out--it had to be visible.


So I embroidered them on by hand.
After chalking the words on to make sure they'd fit where I wanted them, though I didn't end up using the chalk out line very much.
It ended up being pretty free hand.
(I can only wish I had better penmanship!)

 
And, for the quilting, I quilted about a 1/4" from the flowers and then stitched-in-the-ditch for the rest.

 
I added some triangles in the back to hang it.

 
For the backing, I cut the left overs from the FQs into strips and pieced the back.

 
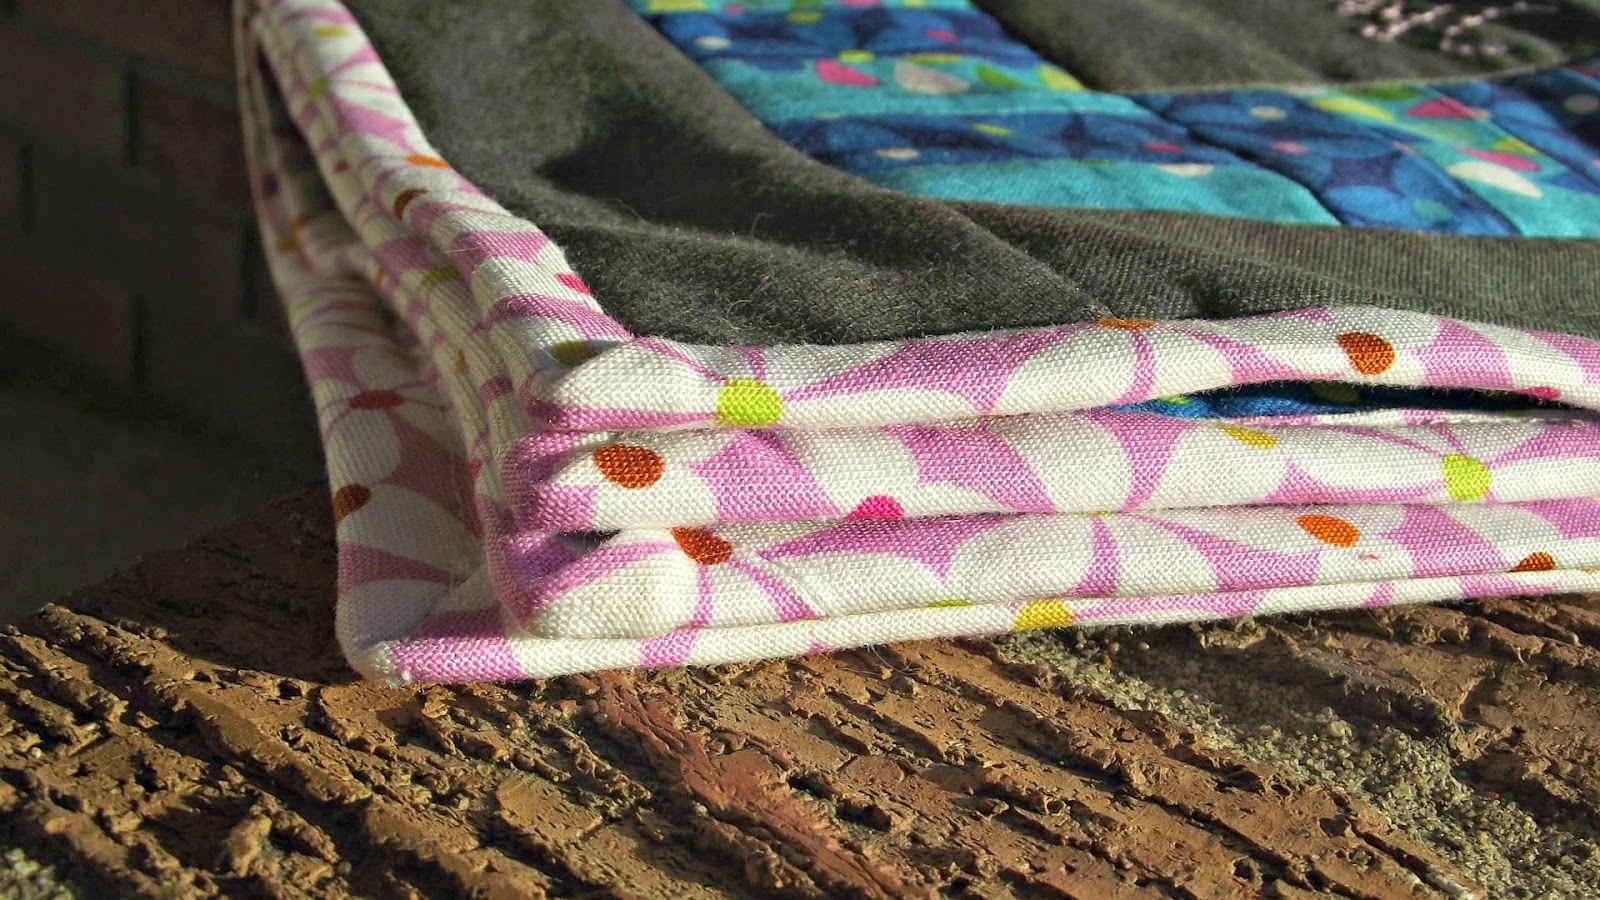
And, the binding--I love how the small flowers look as binding.
Plus it's a brighter color to add that girly flair I wanted for my girls' room!

 
A bright ribbon I hijacked from one of my daughter's gift bags she had stored away is a perfect match.
 
You can get the free tutorial here!
 
And, hop on over to Stay Home Fabrics--Lindsay has $10 flat rate shipping in Canada or free shipping on $100 or over, and the entire month of September you'll get a free, surprise 10 piece 5" charm pack with any order!
Plus, use the promo code "justbeautiful" to get 15% off the Dashwood Studios collection until Wednesday at midnight!
 
Follow Stay Home Fabrics on Facebook for future promo codes and sales!
 

Thursday, May 29, 2014

Corsair Applique Tutorial

(*This post contains affiliate links through which I get a small commission to help me keep the tutorials and such coming!*)
 
Today I'm over at Gracious Threads, joining in on the series Embellish is for Boys!
Make sure to hop over there to enter a great giveaway--she'll be giving away a copy of my Castle Applique Pattern this week along with some other amazing prizes!
 
 
But, here we'll go over how to applique!
 
Supplies:
-Fusible Web
-Scrap of fabric
-Pencil
-Sewing supplies
-Stabilizer (optional)

 
First, we'll print out the pattern and trace it onto the Fusible Web.
It will make a mirror image.
 
 
Cut out the traced Corsair.

 
Iron it to the fabric you'd like to use for the applique.

 
Cut that out.

 
Peel off the paper backing and iron onto project in desired position.

 
If you are using a thin or stretchy fabric, use some stabilizer to keep the fabric nice and straight!
Because of the thin detailing, and because I don't mind if the edges fray a little, I stitched around the edges using a straight stitch, about 1/8" away from the edge.

 
If you'd prefer to have no fraying and are ready to be very meticulous in your sewing, you can use a very narrow and close zig-zag stitch and stitch around the edges with that:
 
 
Here is the finished applique after a straight stitch, stitching about 1/8" away from the edge.

 
And, the completed shorts:
 
 
A quick and fun way to embellish for boys, and if your boy is like mine, he'll love it!
 
To visit my Craftsy shop and see some more fun patterns, click here.

Friday, April 25, 2014

Nursing Cover Tutorial

Quite some time ago now, I had figured out all the measurements I'd need to make a good nursing cover so you could peek at your nursing baby.
 I thought I'd share my method with you in a quick(ish) tutorial!
 
 
Supplies
-1 yard quilting weight fabric
-2 1" d-rings
-15" boning
-2" ribbon
 
First, cut the fabric to size:
-1 piece 26" x 36" (panel)
-1 piece 2.5" x 30" (strap)
-1 piece 2.5" x 6" (strap extender)
 
Here is the supplies after the straps are made.
First, let's make the straps.
Fold both long ends in by 1/4" and press.
Fold in half so the previously folded edges meet and topstitch 1/8" away from edge.
Topstitch folded side as well by 1/8".


Take the d-rings and slip them onto the strap extender so the raw edges meet.
Topstitch as close to the d-rings as possible.
 
 
Take the strap and fold one edge in 1/4" and again by 1/4". Topstitch.
 
 
Next, we'll hem three sides of the large panel--the bottom and sides.
Fold and press 1/4". Fold and press another 1/4" and topstitch.
 
 
For the top, we'll make a casing for the boning.
Fold in by 1/4" and press. Fold again by 3/4" and press.
Do not stitch down yet.


Fold the panel in half and make a mark 7.5" from center on both sides.


Slide the strap and strap extender into place, positioning them so that they are right next to the mark, towards the center. And, make sure they are about 3/8" inside the casing.


Stitch the casing down, making sure to catch the strap and strap extender in the stitches.
 
Take the ribbon and fold it over the cut edges of the boning, stitching it down.
I left a tail so it'd be easier to keep in place while stitching, and then I cut it as close to the stitching as possible.
 
 
So that I had this on both sides:
 

Insert the boning into the casing, making sure the curve is the right way:


You want to achieve this effect, the right side of the fabric being on the top:

 
Stitch the casing closed to keep the boning in place. I stitched to line up with the top stitching on the strap and strap extender.

 
I didn't take a picture of the next step, but fold the strap and strap extender up, and topstitch the top edge of the casing by 1/8", making sure to catch the strap and strap extender so they aren't facing downwards, and making sure to push the boning down so you don't sew over that.
 
And, you are done!
Slip the strap into the d-rings, and go nurse your baby!  

Fabric is Daisy Janie--Shades of Grey
 
If you have any questions, don't hesitate to ask, and I'll try to answer them!
I'd love to see your projects you make using this tutorial--feel free to add them to the Flickr group!
 
Linked up here:

Fort Worth Fabric Studio

Monday, April 14, 2014

Faux Leather Belt Tutorial and Free Pattern!

As promised here is the tutorial and free pattern for the Faux Leather Belt I made for the Mystery Challenge!
 
 
Materials Needed:

  • Faux Leather--1 piece: 4"x 5" and 1 piece: 2" x length of waist + 8"
  • Scrap of fabric--1 piece 10" x 10" or a number of smaller scraps
  • Thick Interfacing (I used Pellon Décor Bond) 8"x 5"
  • Fusible Web (I used Pellon Wonder Under) 4" x 7" 
  • 2 D-Rings 25mm
  • Indian Seed Beads
  • Basic sewing supplies including, sewing machine, iron, hand sewing needle, scissors, pencil
 Directions:
 
Trace the Teddy Bear pattern onto 2 pieces of interfacing, mirror image.
Either cut out and iron cut out onto back of fabric and leather, or iron onto back of fabric and leather and then cut out.


Trace the shaded circles onto fusible web, labelling them if wanted.

 
Iron onto back of fabric and cut out.


Very carefully iron onto the faux leather, using the tip of your iron, making sure not to touch the leather with the iron like I did!

 
Reinforce by stitching around the circles.

 
Add beads to the Teddy Bear for the nose and eyes.

 
I strung three beads and then went back into the first bead to make a triangle.
Make sure to stitch them on securely!

 
You should now have these two pieces:

 
We are now going to make the bear removable by adding a belt loop to the fabric side of the bear.
Cut a piece of fabric that is 2.5" x 2.5" and sew it into a rectangle with right sides together--only sewing on the 'long' end.
Turn and iron flat.
Fold the short ends under by a scant 1/4" and topstitch onto the bear like this:
 
 
Cut a teddy bear out of Fusible Web and iron onto the wrong side of the fabric bear.
Remove paper backing and iron the fabric teddy onto the leather teddy, leather side down (away from the iron).
Put a corresponding color of thread in your sewing machine and stitch around the outside of the bear about 1/8" from edge, as seen in this picture:
 
 
Now, for the belt.
Take the long piece of faux leather you cut and fold the sides toward the middle, wrong sides together.
I used a decorative stitch to stitch the edges down in the middle--making sure both edges are caught.


Fold one short end of the belt under by 1/4" and stitch down.
Take the D-Rings and slide them onto the belt, folding the unstitched short side down over the D-Rings by 1 1/4". Fold under 1/4" and top stitch down.
 
Slide the Teddy Bear on, and you are done! 


I hope you enjoy this tutorial and free pattern!
If you do make it, I'd love to see pictures--just email them to me, or add them to the Flickr group!