Tuesday, April 29, 2014

A New Diaper Bag

My diaper bag I had was starting to look pretty sad--it's been through at least 2 or 3 kids--I don't remember!
But, the straps were starting to fray and it just wasn't really my style anymore, so I thought I'd whip up a new bag.

 
I found a free bag pattern from Sew Sweetness--The Kennedy Bag.

 
I love all the details.
The fabric, d-rings, magnetic closure, and clasps are from Fabricland. The sliders are from Emmaline Bags (which I highly recommend after great shipping times!), and the zippers are from Zipit!
I did add a couple of extras--a zippered pocket on the outside.


And, two elastic pockets that can handle Sippy cups or bottles.


The other pockets are in the original pattern.


I couldn't find (or didn't look hard enough for) Soft and Stable, so I used a double layer of interfacing.
I think the flap could have used a little less stiffness, but I'm sure it'll wear a little and become more supple.


I really like how this bag turned out--I've already moved all my diaper bag stuff into here as well as my purse stuff, in the hopes of only carrying one bag...ha! We'll see how long that lasts.

Friday, April 25, 2014

Nursing Cover Tutorial

Quite some time ago now, I had figured out all the measurements I'd need to make a good nursing cover so you could peek at your nursing baby.
 I thought I'd share my method with you in a quick(ish) tutorial!
 
 
Supplies
-1 yard quilting weight fabric
-2 1" d-rings
-15" boning
-2" ribbon
 
First, cut the fabric to size:
-1 piece 26" x 36" (panel)
-1 piece 2.5" x 30" (strap)
-1 piece 2.5" x 6" (strap extender)
 
Here is the supplies after the straps are made.
First, let's make the straps.
Fold both long ends in by 1/4" and press.
Fold in half so the previously folded edges meet and topstitch 1/8" away from edge.
Topstitch folded side as well by 1/8".


Take the d-rings and slip them onto the strap extender so the raw edges meet.
Topstitch as close to the d-rings as possible.
 
 
Take the strap and fold one edge in 1/4" and again by 1/4". Topstitch.
 
 
Next, we'll hem three sides of the large panel--the bottom and sides.
Fold and press 1/4". Fold and press another 1/4" and topstitch.
 
 
For the top, we'll make a casing for the boning.
Fold in by 1/4" and press. Fold again by 3/4" and press.
Do not stitch down yet.


Fold the panel in half and make a mark 7.5" from center on both sides.


Slide the strap and strap extender into place, positioning them so that they are right next to the mark, towards the center. And, make sure they are about 3/8" inside the casing.


Stitch the casing down, making sure to catch the strap and strap extender in the stitches.
 
Take the ribbon and fold it over the cut edges of the boning, stitching it down.
I left a tail so it'd be easier to keep in place while stitching, and then I cut it as close to the stitching as possible.
 
 
So that I had this on both sides:
 

Insert the boning into the casing, making sure the curve is the right way:


You want to achieve this effect, the right side of the fabric being on the top:

 
Stitch the casing closed to keep the boning in place. I stitched to line up with the top stitching on the strap and strap extender.

 
I didn't take a picture of the next step, but fold the strap and strap extender up, and topstitch the top edge of the casing by 1/8", making sure to catch the strap and strap extender so they aren't facing downwards, and making sure to push the boning down so you don't sew over that.
 
And, you are done!
Slip the strap into the d-rings, and go nurse your baby!  

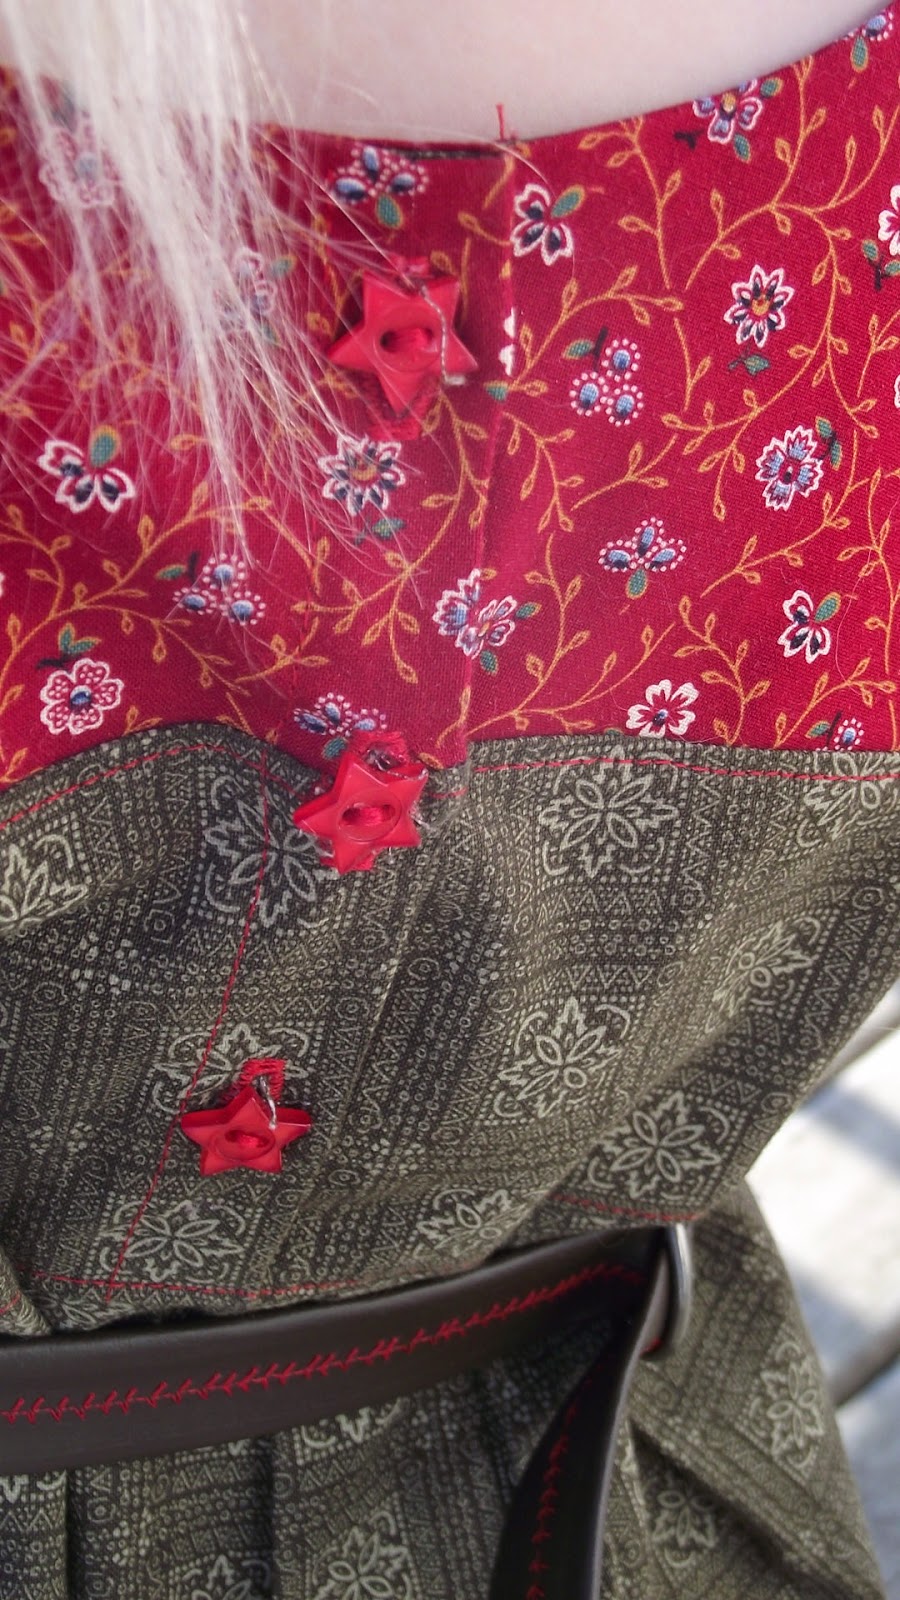
Fabric is Daisy Janie--Shades of Grey
 
If you have any questions, don't hesitate to ask, and I'll try to answer them!
I'd love to see your projects you make using this tutorial--feel free to add them to the Flickr group!
 
Linked up here:

Fort Worth Fabric Studio

Thursday, April 24, 2014

Learning Curve--How to Sell a Pattern on Craftsy

 
(*This post contains affiliate links which means I'll be compensated if you purchase after clicking through!*)
 
I've been on a steep learning curve lately.
Not only have I had to figure out how to use Inkscape, turn that into a PDF file with a number of pages, I've also had to figure out how and where to sell my patterns!
 
One reason I chose Craftsy is that it is absolutely free to list patterns for sale!
And, it is so easy, and did I mention free? As in, no fees at all?
 
Shop Indie Patterns

 How do you add a pattern to Craftsy and start your pattern store? It’s easy!

1. Make sure you have a Paypal account. All pattern transactions happen through Paypal, and Craftsy requires that you have a Student, Premier, or Business account in order to sell patterns.
2. Put your pattern in .pdf format. You can’t upload any patterns to the online pattern store unless they’re a .pdf file format, so if they’re currently saved as a Word doc, .jpg, or other file format, you must convert it to a .pdf before you upload it to Craftsy.
3. Include a photo. All patterns must have at least one photo to accompany them, but you can add up to five photos. Colorful, interesting photos tend to work the best for catching our members’ eyes!
4. Fill out the pattern description. We will ask you some basic questions around your pattern making it easier for Craftsy folk to find your pattern and know what your pattern is for. Make sure you have info about your pattern handy for this step.

For more information on how to sell a pattern through Craftsy, or to get started, visit Craftsy today!


Monday, April 14, 2014

Faux Leather Belt Tutorial and Free Pattern!

As promised here is the tutorial and free pattern for the Faux Leather Belt I made for the Mystery Challenge!
 
 
Materials Needed:

  • Faux Leather--1 piece: 4"x 5" and 1 piece: 2" x length of waist + 8"
  • Scrap of fabric--1 piece 10" x 10" or a number of smaller scraps
  • Thick Interfacing (I used Pellon Décor Bond) 8"x 5"
  • Fusible Web (I used Pellon Wonder Under) 4" x 7" 
  • 2 D-Rings 25mm
  • Indian Seed Beads
  • Basic sewing supplies including, sewing machine, iron, hand sewing needle, scissors, pencil
 Directions:
 
Trace the Teddy Bear pattern onto 2 pieces of interfacing, mirror image.
Either cut out and iron cut out onto back of fabric and leather, or iron onto back of fabric and leather and then cut out.


Trace the shaded circles onto fusible web, labelling them if wanted.

 
Iron onto back of fabric and cut out.


Very carefully iron onto the faux leather, using the tip of your iron, making sure not to touch the leather with the iron like I did!

 
Reinforce by stitching around the circles.

 
Add beads to the Teddy Bear for the nose and eyes.

 
I strung three beads and then went back into the first bead to make a triangle.
Make sure to stitch them on securely!

 
You should now have these two pieces:

 
We are now going to make the bear removable by adding a belt loop to the fabric side of the bear.
Cut a piece of fabric that is 2.5" x 2.5" and sew it into a rectangle with right sides together--only sewing on the 'long' end.
Turn and iron flat.
Fold the short ends under by a scant 1/4" and topstitch onto the bear like this:
 
 
Cut a teddy bear out of Fusible Web and iron onto the wrong side of the fabric bear.
Remove paper backing and iron the fabric teddy onto the leather teddy, leather side down (away from the iron).
Put a corresponding color of thread in your sewing machine and stitch around the outside of the bear about 1/8" from edge, as seen in this picture:
 
 
Now, for the belt.
Take the long piece of faux leather you cut and fold the sides toward the middle, wrong sides together.
I used a decorative stitch to stitch the edges down in the middle--making sure both edges are caught.


Fold one short end of the belt under by 1/4" and stitch down.
Take the D-Rings and slide them onto the belt, folding the unstitched short side down over the D-Rings by 1 1/4". Fold under 1/4" and top stitch down.
 
Slide the Teddy Bear on, and you are done! 


I hope you enjoy this tutorial and free pattern!
If you do make it, I'd love to see pictures--just email them to me, or add them to the Flickr group!

Mystery Challenge--A Look Back in Time

Mystery Challenge....
Whew--when I got my challenge from Stephanie over at Swoodson Says--a professional school picture of myself when I was younger, I wasn't sure where to start!!!
My school pictures are not very inspiring. At all.
No fun dresses, no outlandish styles.
Mostly sweaters and t-shirts.
In fact, I hated dresses as a kid and did all I could to dress like a boy.
I actually considered putting together a boy outfit, but that wasn't going to work out the way I wanted.
 
1997--and yes, I look this geeky on all my pictures after grade 1!
 
But, then I remembered that I still had the handkerchief that is tied around my neck on this one.
So, I knew I'd go with this one....
Only, what was I to make.
I didn't want to cut it up, and the style of having it tied around your neck is not in at all!
 
 
So, I thought, why not use the colors of my outfit and the teddy bears as the start off point.


I made a teddy bear and belt out of faux leather (a tutorial for this is coming up!!)
(UPDATE: Tutorial available here. It includes a free pattern for the Teddy Bear!)
The teddy bear is removable so she can just wear the belt.
I added some beads for the nose and the eyes.  
 
 
The leggings are the Go-To Leggings.
Made with a Robert Kaufman knit from Fabric.com, I believe.
I cut a size 3 so they fall right around the knee, so a little longer than the bike shorts length.


And, the dress is the Maggie Mae Tunic and Dress from Shwin Designs in size 4.
It is a little wide, but the belt hides it well!
These fabrics were in my stash--where they are originally from I do not know.
I know I used the brown in a diaper bag before (like years ago) so it might have come from Fabricland. The red may have come from the second hand store.


I also added some belt loops on the sides, to keep the belt in place properly.  
Some, cute star buttons out of my stash, and it's all done!
 
Notice the snow--it's almost gone!!!
 
And, her own posing--she loves new dresses and is always quite excited to have a new dress--'For me, Mom?'
 
Please click over and check out everyone else's themes and projects! I am really excited to see what everyone else made.
**
Kelly at Kelly J Designs
Shawnta at Shawnta Sews & Jessica at Make Me Crafty
Fenna at FABulous Home Sewn & Stephanie at Swoodson Says

Saturday, April 12, 2014

KCW Sewing

I have been sewing along with KCW.
It's just been a bit crazy this week with no time to take pictures and post!
 
First up was a baby gift for a friend who just had a little baby boy.
The pattern is from Ottobre 3/2013--#3, Baby Whale in size 62 (3-6 m).
 
 
The knit is a thin jersey knit from Girl Charlee.
I love how the stripes lined up--first time I got them so perfect.
I did do the neck and arm binding a bit different than the Ottobre method--I just folded it in half and stitched it to the neckline and sleeve ends.
 
 
Next, I sewed up 8 pairs (yes, 8) of shorts for my kids.
PJ shorts for the spring that *has* to come sometime!

 
The fabric is an assortment from my stash:
two in a Thomas fabric from Fabricland,
two in a red star print from a friend,
two in City Centre by Marie Perkins (Robert Kaufman) from the Fat Quarter Shop,
and one each in: Off to the Rescue by Becky Taunton (Newcastle Fabric)
and Meadow Friends by Deb Strain (Moda) both also from the Fat Quarter Shop.
 
 
The pattern is from the book, Sewing for Boys--the PJ pant /Sweat pant pattern.
I took it in majorly for the two smaller sets and used the actual width for the two bigger sets.
It also didn't have a shorts option, so I just measured how long I wanted for my kids and cut it that length.
They will be paired with t-shirts from Walmart.

 
(This post contains affiliate links.)